
My 1st tutorial ^_^
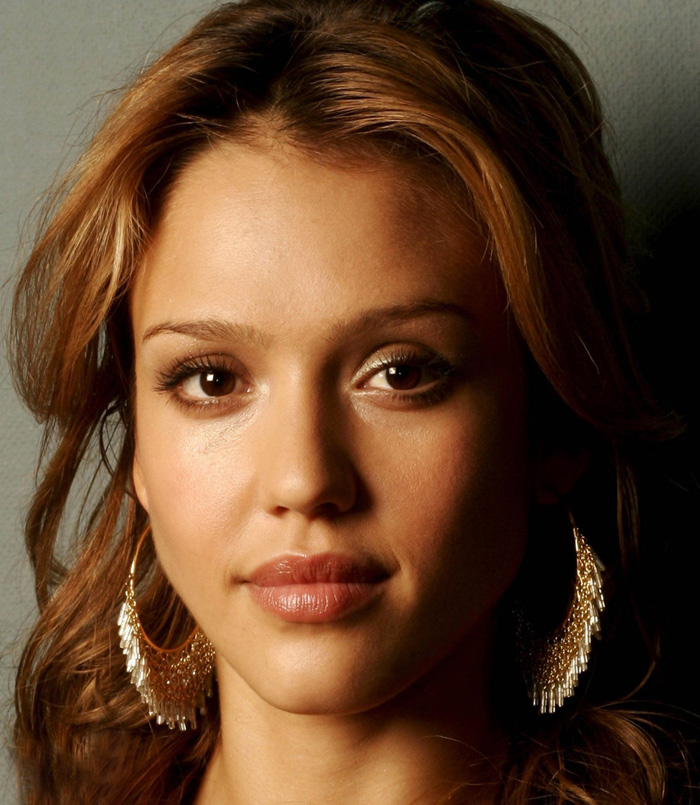
1) Open image. Mine from stylin291@flickr

2) Duplicate layer or tekan Ctrl+J. You'll have 2 layers now.
 -We will use the duplicated layer for the next steps-
3) Then click Filter->Noise->Dust & Scratches. Set Threshold 0, and Radius for this image is less than 9. You can still adjust with your own preference ^_^. Click OK.

4) Next, click Filter->Blur->Gaussian Blur, and choose something between 2-5 (or secukup rasa - AGAIN ^_^). Satisfied? Click OK

5) Then you will turn on layer mask for this image. Go to Layer->Layer Mask->Reveal All.

6) Click Ctrl+I to Inverse. Click at the mask-icon (next to layer-thumbnail @ the highlighted one). You can see that the blurring is now gone. (It's masked actually, not really gone..telah d'topengkan..lolx)

7) Finally, take small size Brush tool. Choose the color white (kalau mask korang putih, choose black). Start painting all over the face (ingat, jgn kena mata @ hidung @ mulut. Just skin - mcm nk guna ubat sapu..lolx.).
The blurred layer will now become visible over the part you paint.

Final Result:

p/s: Jessica Alba mmg super cun ah (^o=)

No comments:
Post a Comment